There’s something magical about vintage decor. It has a way of making any space feel more welcoming, lived-in, and full of stories. Whether you love the nostalgic charm of the past or simply want to add a little old-world elegance to your home, vintage-inspired DIY projects are a perfect way to achieve that timeless look.
In today’s post, I’m sharing five vintage-inspired DIY projects that are easy to make and guaranteed to give your home a cozy, classic feel. Each project is crafted with love and attention to detail, just like in the good old days.
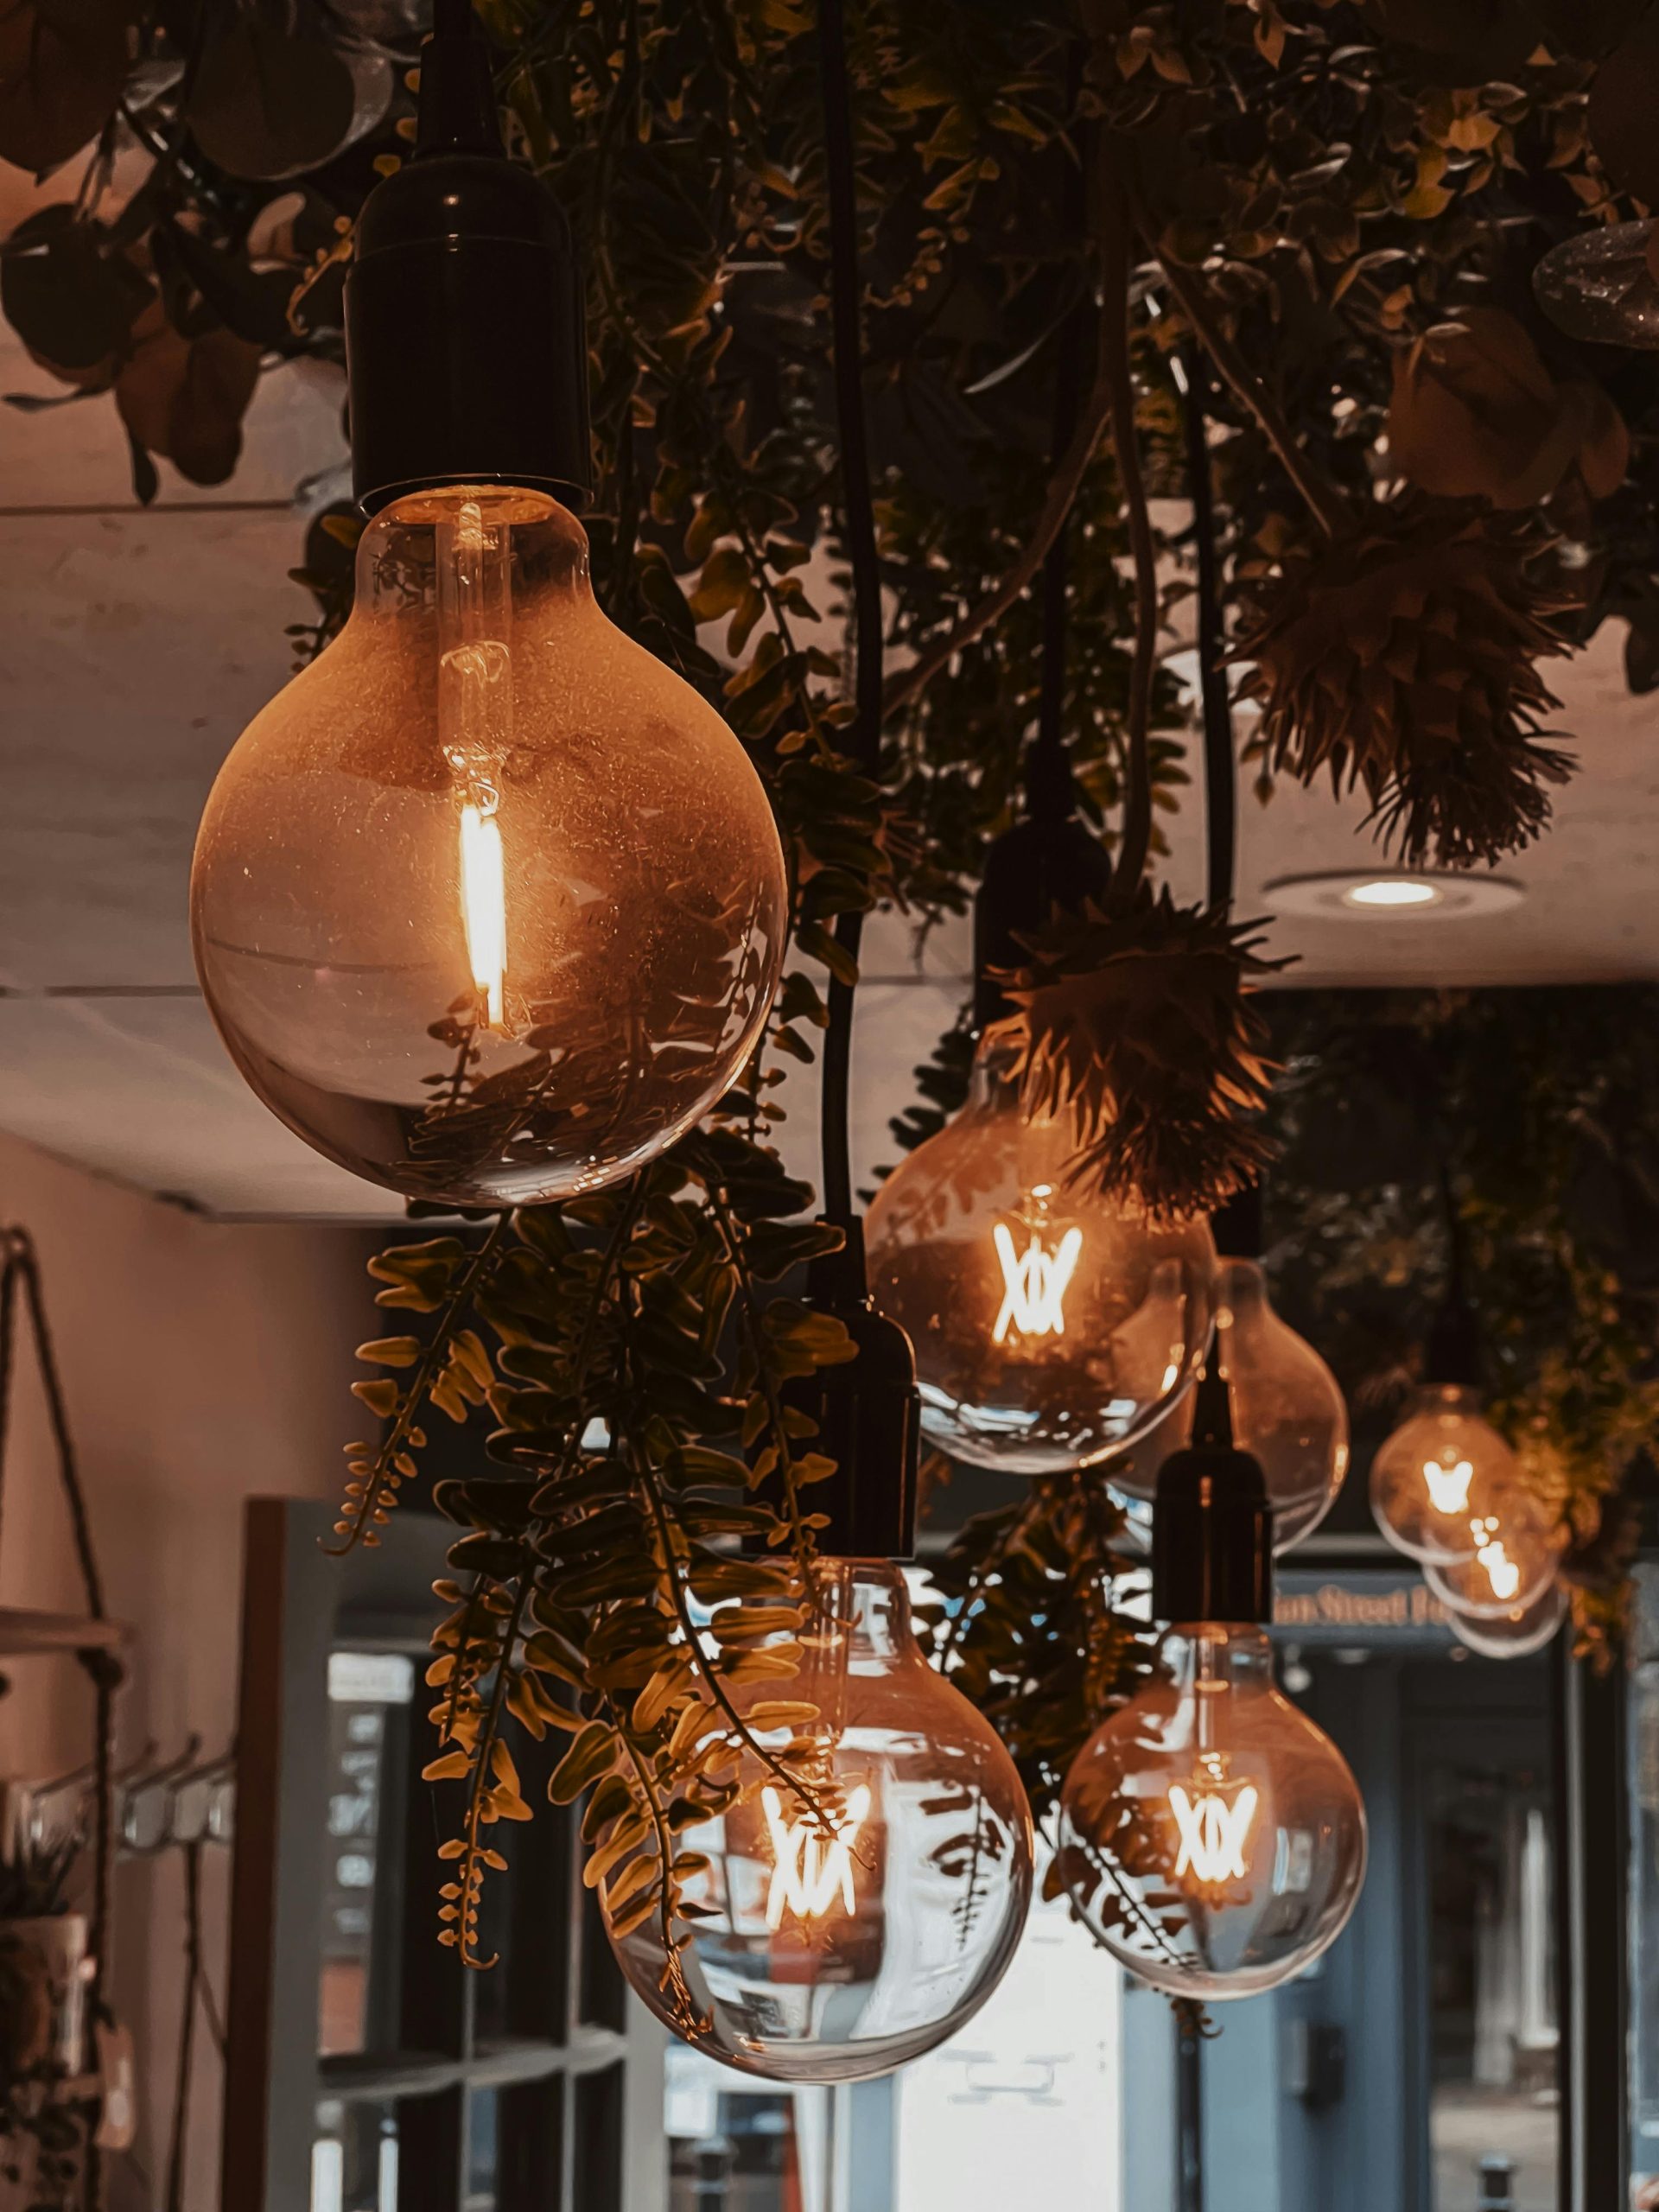
1. Antique Mason Jar Vases
Mason jars are a DIY staple, and for good reason—they’re versatile, inexpensive, and can be styled to fit any theme. For this project, we’re giving them a vintage twist.
What You’ll Need:
- Mason jars (the older, the better!)
- Chalk paint in soft, muted colors (think pastel blues, creamy whites, or blush pinks)
- Sandpaper for distressing
- Twine or lace for decoration
Instructions:
- Start by painting your mason jars with chalk paint. Apply two coats for full coverage.
- Once dry, gently sand the edges and raised areas to give the jar a distressed, worn look.
- Tie a piece of twine or lace around the neck of the jar for that extra vintage touch.
- Add fresh or dried flowers, and you’ve got yourself a beautiful antique-style vase that looks straight out of a farmhouse.
2. Vintage Handkerchief Wall Art
Turn old, delicate handkerchiefs into beautiful wall art that adds character and charm to any room. This project is perfect if you have a collection of vintage handkerchiefs or linens you want to display.
What You’ll Need:
- Vintage handkerchiefs or small pieces of patterned fabric
- Embroidery hoops in various sizes
- Scissors
- Wall hooks for hanging
Instructions:
- Choose your favorite handkerchiefs and secure them in the embroidery hoops, pulling the fabric taut.
- Trim any excess fabric hanging outside the hoop.
- Arrange the hoops in a cluster on your wall, mixing different sizes and colors for a unique display.
- You’ve just created a one-of-a-kind vintage gallery wall!
3. Repurposed Antique Drawer Shelves
Old dresser drawers can easily be repurposed into stylish, functional shelves for any room in your home. This project adds a rustic, vintage flair to your walls while also providing practical storage.
What You’ll Need:
- Old dresser drawers (thrift stores or garage sales are great places to find these)
- Sandpaper
- Wood stain or paint
- Mounting brackets
Instructions:
- Sand down the drawers to remove any rough edges or peeling paint.
- If you prefer a natural wood look, apply a wood stain. If you want a pop of vintage color, opt for pastel paint.
- Once dry, attach mounting brackets to the back of the drawers and hang them on your wall.
- Use these shelves to display books, plants, or vintage trinkets for a truly timeless look.
4. Vintage-Inspired Recipe Box
If you love cooking up family recipes passed down through generations, why not give those precious notes a beautiful home? A DIY vintage recipe box is both functional and sentimental.
What You’ll Need:
- A wooden box (a cigar box works well)
- Chalk paint
- Sandpaper
- Decorative paper or fabric
- Mod Podge
Instructions:
- Paint the wooden box with chalk paint in your desired color, and distress it with sandpaper for a weathered look.
- Line the inside of the box with decorative paper or fabric using Mod Podge.
- Once everything is dry, use the box to store your favorite recipes, written on vintage-style recipe cards.
- This project not only looks beautiful on your kitchen counter but also keeps those family treasures safe for years to come.
5. Vintage Teacup Candles
Give old teacups new life by turning them into candles! These vintage-inspired candles make for a lovely gift or a charming addition to your own home.
What You’ll Need:
- Vintage teacups (search thrift stores for pretty, mismatched cups)
- Candle wax flakes
- Candle wicks
- Essential oils (optional for scent)
- A double boiler or microwave-safe container for melting the wax
Instructions:
- Start by melting the candle wax flakes in a double boiler or microwave-safe container.
- While the wax is melting, secure the wick to the bottom of the teacup using a bit of melted wax or a wick holder.
- Once the wax is fully melted, add a few drops of essential oil for fragrance, if desired.
- Pour the wax into the teacup, leaving a bit of space at the top.
- Let the candle cool completely, then trim the wick to about 1/4 inch.
- Light your new vintage candle and enjoy the cozy glow!
These five vintage-inspired DIY projects are simple, fun, and guaranteed to add timeless charm to your home. Whether you’re upcycling old treasures or creating new ones with a vintage touch, there’s something truly special about crafting decor that feels like it has a story to tell. So, gather your supplies, embrace your creativity, and start crafting your own piece of history today!
Have you tried any vintage-inspired DIY projects? Let me know in the comments below!
This post gives a cozy, welcoming feel that matches the vintage vibe of the Wonderland theme. Let me know if you’d like to make any tweaks!